Battery Production Process

Battery Production Process

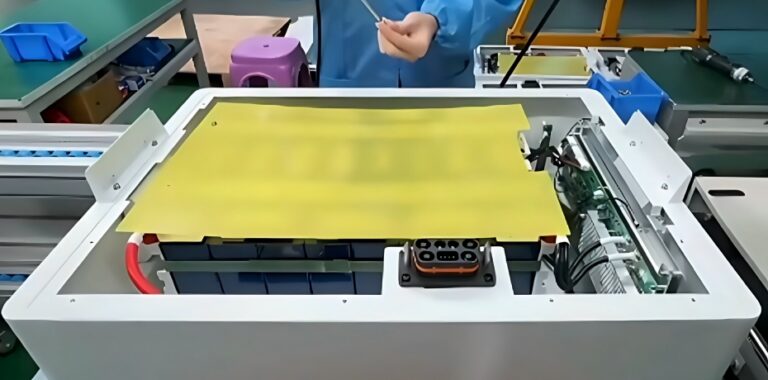
Step 1 Install the BMS and Accessories

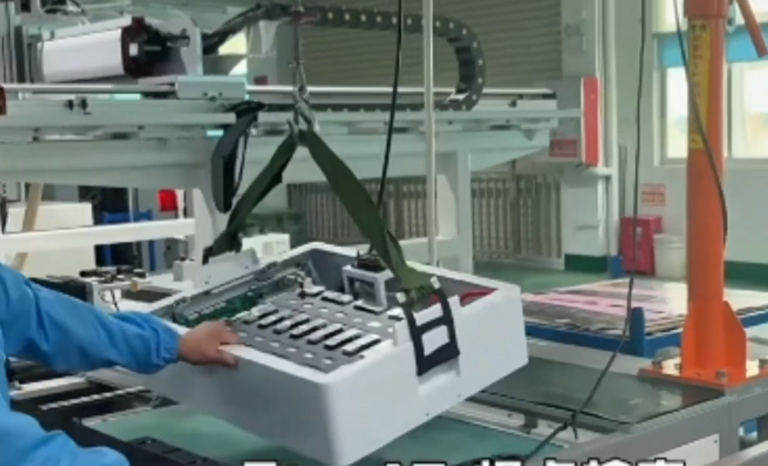
Firstly we need to fix the BMS On the board of the cover ,in addtion. there is some other accessories need to be install in addvance 

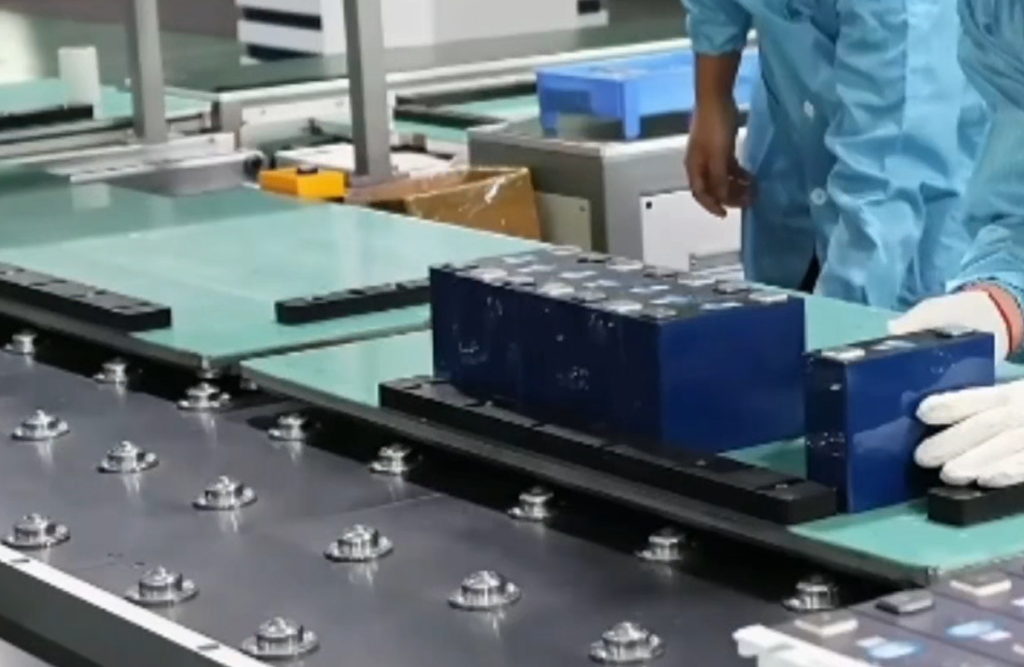
Step 2 Lifepo4 Cell Sorting and Pairing

firstly We will test the capacity . Voltage and Inner resistance of each cell,  according to the related standard like capacity difference within 2Ah. same voltage and the inner resistance within 0.02 to combined with the battery .then we need for each pack .like 4pcs . 8pcs or 16pcs .make sure they will have the high consistence when they work together . It will guarantee the whole pack work  effectively and fluently with long life 

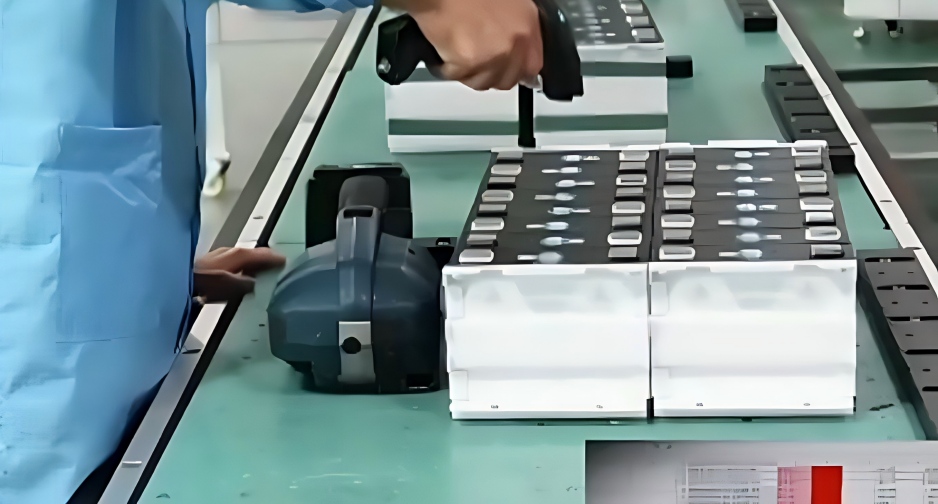
Step3 Assembled Module

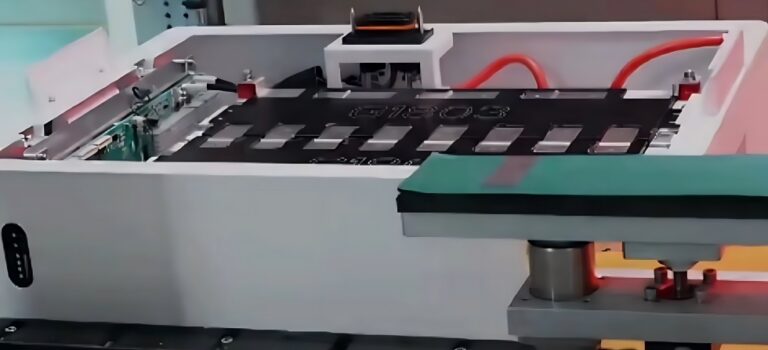
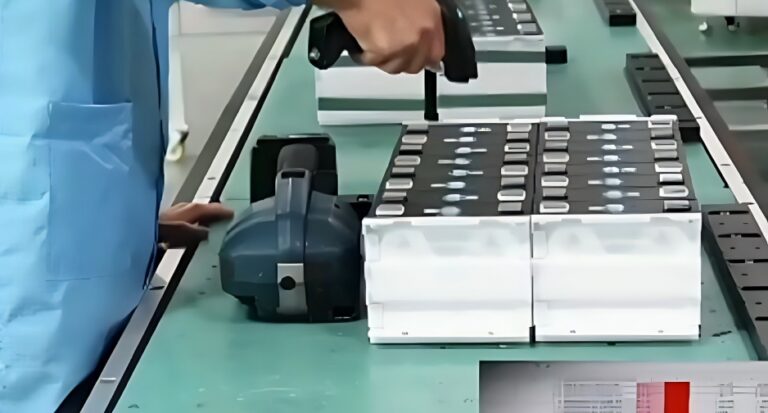
We will connect the required batteries (sorted according to specifications) by connecting their positive and negative terminals, and use corresponding specifications connecting strips to link them. Additionally, we will secure them with insulating materials around the perimeter for further fixation, ensuring they remain tightly bound and will not loosen during use
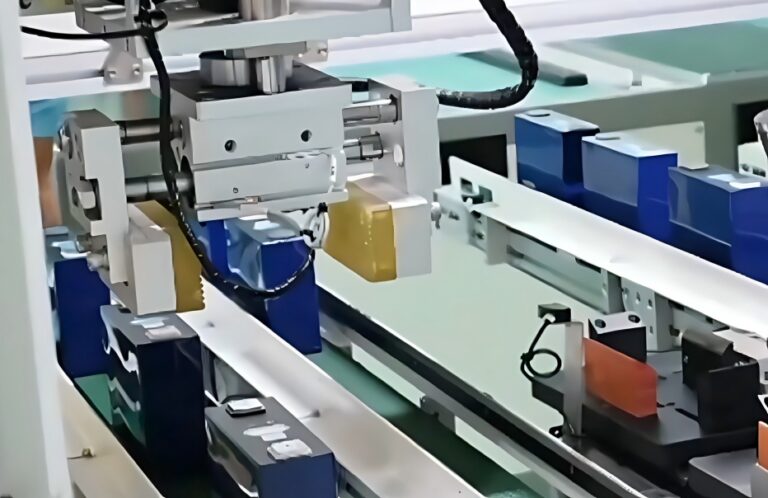
Step4 Scan and Archive

In this step ,Scan all the barcode to get the battery actual data for each pack, It is very important and necessary . we will keep this data as our history record so that can we can track it for each cell.in future , if there is any problem of the pack  we can check the original data for repair . It is  one step  of our quality control .

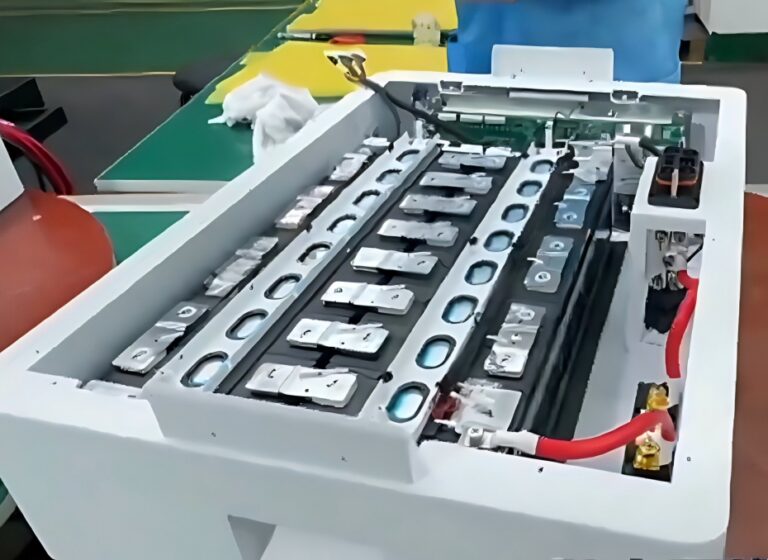
Step5 Put The Module into box

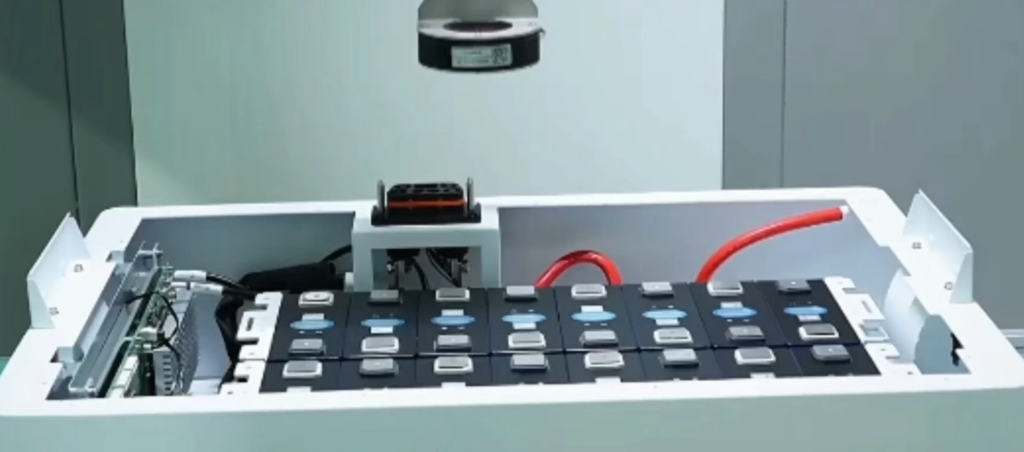
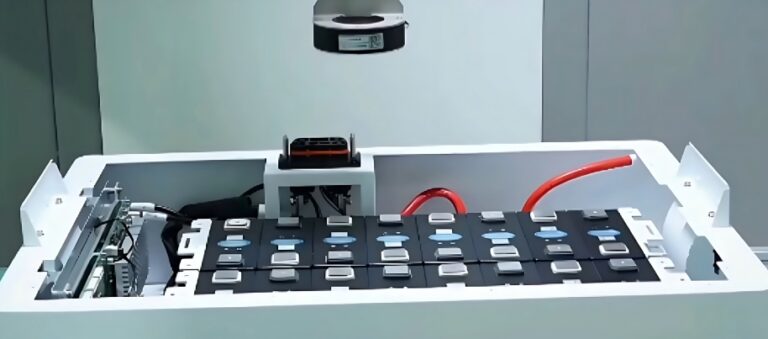
 after the previous , then we Put the whole Module into box based on the wall of the BMS and accessory then add the bottom of the box , and fix them

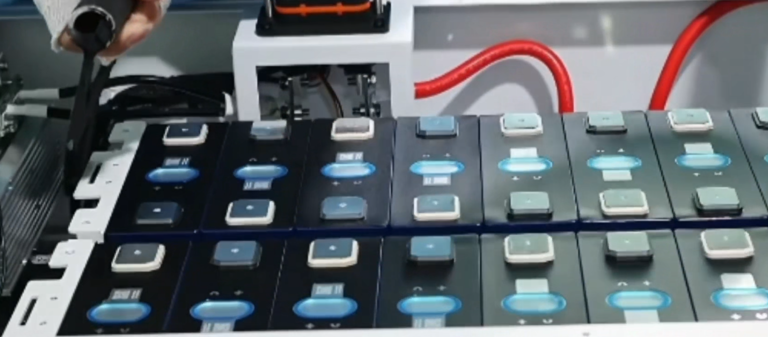
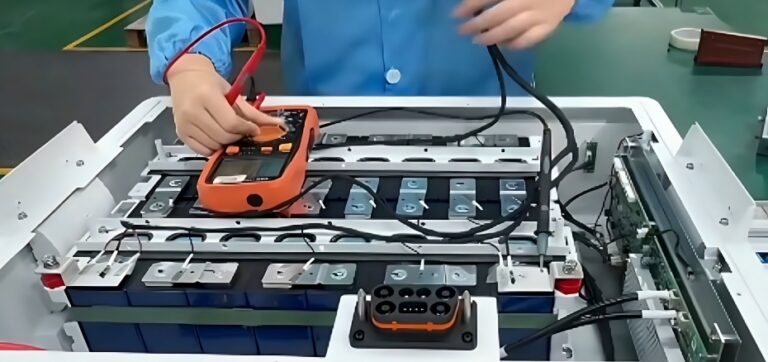
Step6 polarity detection

In this step we will  Check whether each pole post is connected with correct polarity (positive/negative) to prevent errors during assembly that could lead to failure in the entire Parker manufacturing process

Step7 Electrode Post Cleaning

 we will do this step to Ensure that the surface of each electrode post is smooth and clean to prevent issues, such as omissions or displacement during the laser welding process.  

Step8 Linker Sheet Inspection

 we will Check that each linker sheet is properly connected and free of omissions, and place them in the correct positions to facilitate the subsequent laser welding process

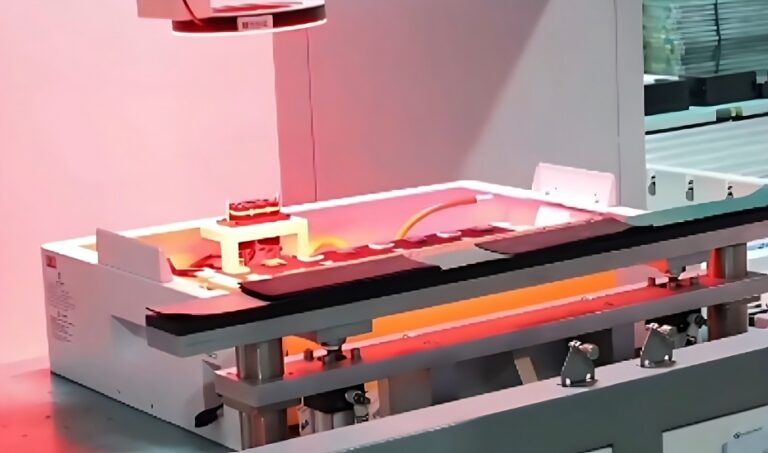
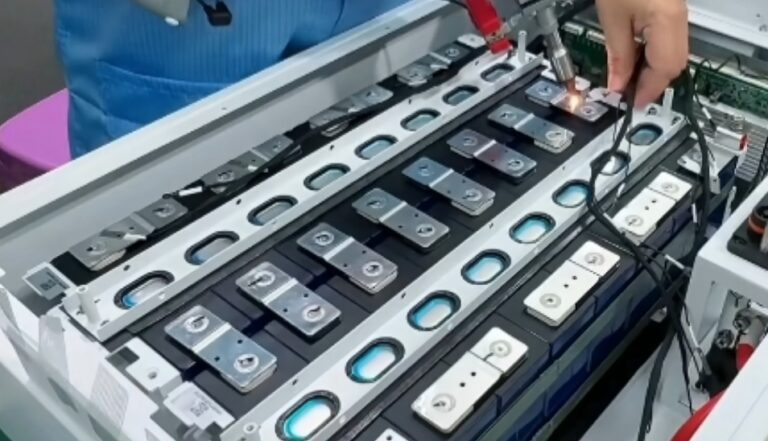
Step9 Laser Welding

then we will Use a computer-controlled fully automatic laser welding machine to perform welding

Step10 Welding Point Inspection

In this step  we will Inspect each welding point to ensure secure bonding, checking for any脱落 or missed pole pillars. Install PCBA retaining strips on the welded module if no errors are found to ensure insulation and safety.

question of lifepo4 Battery

Step11 Data Line Welding

Based on the previous Laser weld pre-positioned data collection lines to ensure firm fixation and safety

Step12 bundle insert gray ribbon cables

after that .we will test whether various cable assemblies function properly. If everything is normal, organize and bundle them neatly for aesthetics and install the ribbon cables.

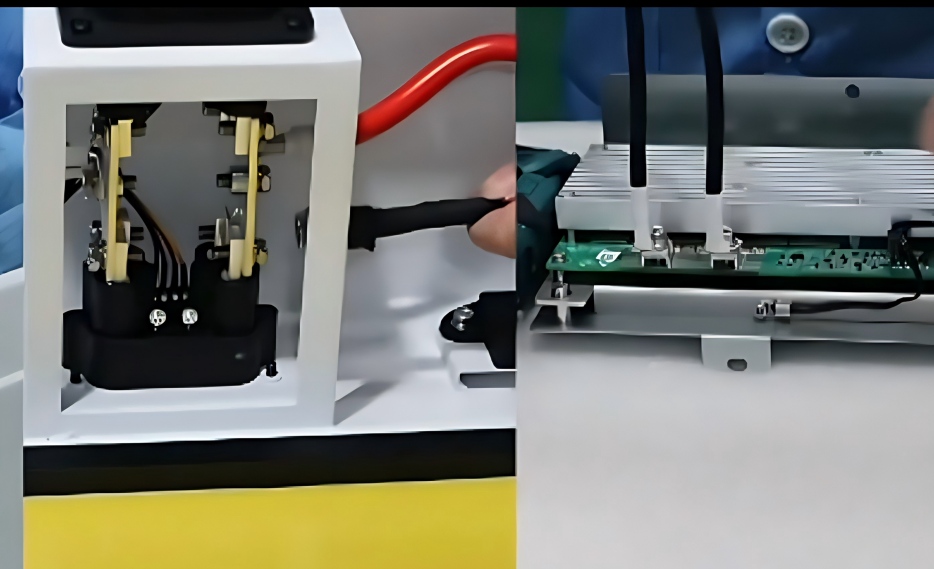
Step13 Install power cables

then we will Laser weld pre-positioned data collection lines to ensure firm fixation and safety

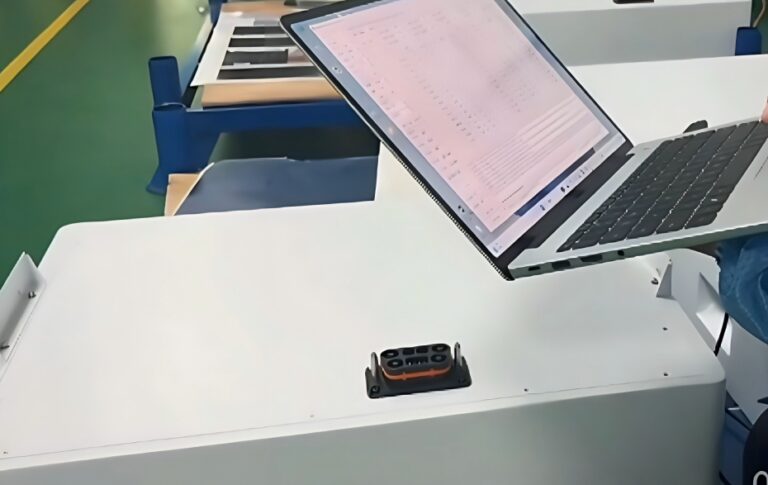
Step14 ATE Testing

After previous step , we will Use dedicated equipment to test battery charging/discharging functionality, checking for overcurrent, overvoltage, undervoltage conditions.

Step15 Install upper cover

After testing is complete, install the entire Parker’s upper cover, completing the finished product.

Step16 Aging Test

 Then we  will Conduct further aging tests on the finished product using specialized equipment to verify capacity retention, internal resistance changes, voltage consistency, temperature control, etc.  

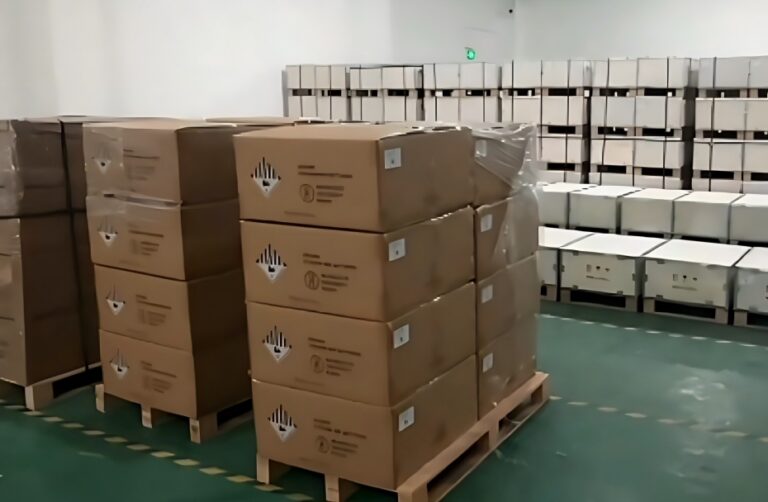
Step17 Packaging

finally we will Package the finished product in paper or wooden boxes based on specifications for safe shipping

Dimensions - Please list in Millimetres (mm)

Other Requirements

Dimensions are required to assist with your request. Please ensure they are accurate above.

Show us what you want